
Prepare Your Bottle: Take a clean, clear plastic bottle and cut it in half. The bottom half will serve as your container. Remember to create a few small drainage holes at the bottom.
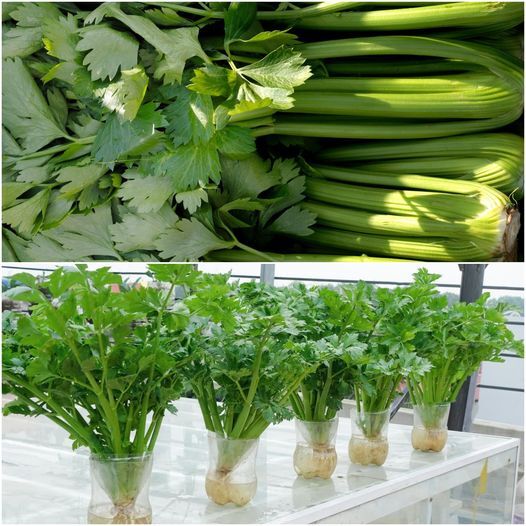
Save the Celery Base: Instead of discarding the base of your celery next time you buy it, save it! Place the base in a shallow dish of water and patiently wait for roots and new leaves to sprout, usually within a few days.
Transfer to the Bottle: Once your celery base shows signs of growth, carefully transfer it to the prepared plastic bottle. Fill the bottle with water so that the roots are submerged while keeping the top part above water. Find a sunny spot to place your new celery patch.
Care and Harvest: Change the water every couple of days to keep it fresh. In just a few weeks, you’ll witness the celery growing beautifully. Harvest as needed by cutting off what you require. Remember to never remove more than a third of the plant at a time, allowing it to continue growing and providing you with a continuous source of fresh and crunchy celery.
Conclusion: A Crunchy Reward
Growing celery in plastic bottles is a rewarding and fulfilling experience that allows you to enjoy home-grown, crispy vegetables with minimal effort. It showcases how a little bit of ingenuity and recycling can lead to delicious outcomes. Whether you’re an experienced gardener or simply looking to try something new, this project is bound to bring joy and flavorful additions to your culinary adventures. So grab a plastic bottle, get started, and unlock the wonders of fresh, earth-friendly celery!
