
Instructions:
Prepare Apples:
Gather your apple scraps, which could include cores, peels, or chunks from leftover apples. If you don’t have scraps, you can use whole apples, but make sure to rinse them thoroughly to remove any wax or pesticides.
Start the Fermentation:
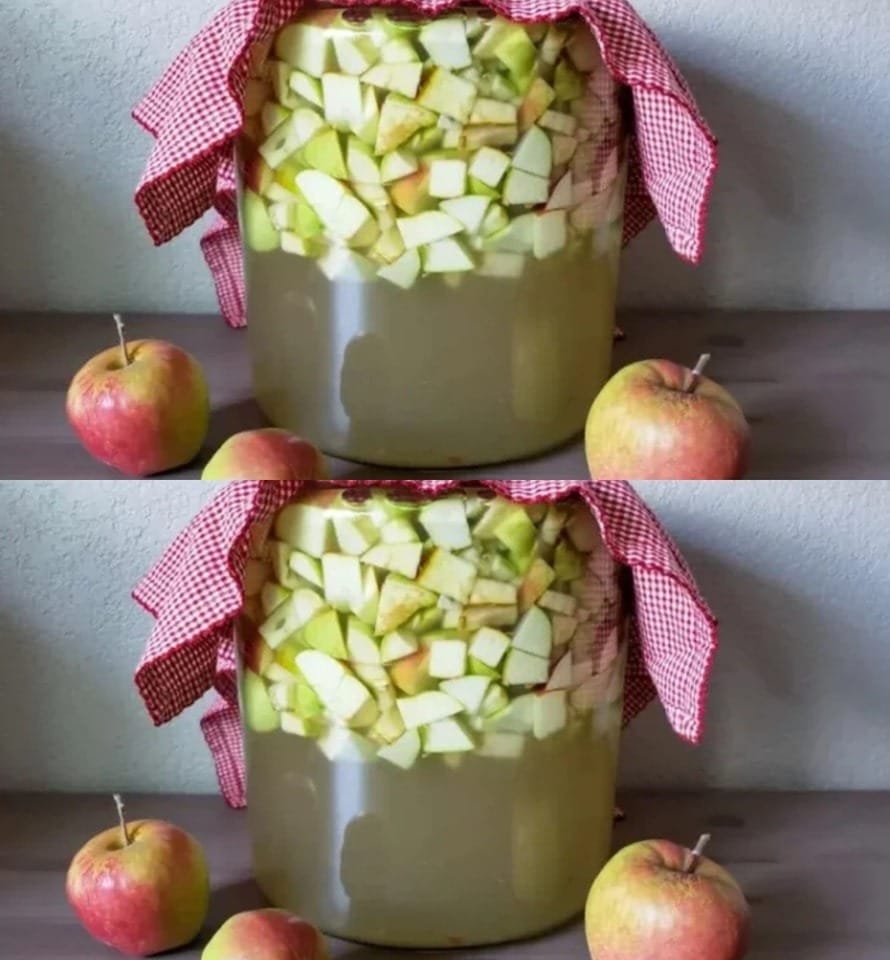
Place the apple scraps in a clean glass jar (1-2 quart jar works well).
Add the sugar into the jar and pour in enough water to cover the apple scraps completely. Stir the mixture gently to dissolve the sugar.
Cover and Ferment:
Cover the jar with cheesecloth, a clean towel, or a coffee filter (secured with a rubber band). This allows air to flow in, which is necessary for the fermentation process.
Store the jar in a dark, warm spot (room temperature is ideal) for 3-4 weeks. Stir the mixture once a day to help the fermentation along.
Strain and Continue Fermenting:
After 3-4 weeks, strain the liquid into a clean jar, removing all solids. Discard the scraps.
Cover the jar again and let the liquid ferment for another 3-4 weeks. Stir it occasionally. You’ll notice the mixture starting to develop a tangy smell as it turns into vinegar.
Bottle and Store:
After the second round of fermentation (about 6-8 weeks total), taste your vinegar. If it has reached the acidity level you prefer, it’s ready for bottling.
Transfer the vinegar into sterilized glass bottles or jars with lids and store in a cool, dark place.
Tips:
Fermentation time: The longer it ferments, the more intense the flavor will become. You can ferment it for longer if you want a stronger taste.
Apple types: You can use any type of apple for this recipe – a mix of sweet and tart apples will yield a nice balance of flavors.
Uses: Homemade apple cider vinegar can be used in salad dressings, marinades, or as a natural remedy for digestion and detoxification.
Enjoy your homemade apple cider vinegar – a truly natural, multipurpose creation! 🍎
