
Steps to Make Homemade Butter
- Pour the Cream:
- Pour the heavy cream into the bowl of your stand mixer, or a large mixing bowl if using a hand mixer or food processor.
- Whip the Cream:
- Begin whipping the cream on medium speed. As you whip, the cream will go through several stages: first, it will become whipped cream, then it will start to look grainy, and finally, it will separate into butter and buttermilk. This process can take anywhere from 5 to 10 minutes.
- Separate the Butter:
- Once the cream has separated, you will see a pale yellow butter solid and a milky liquid (buttermilk). Carefully pour off the buttermilk and save it for another use, such as baking or making pancakes.
- Rinse the Butter:
- Place the butter in a fine mesh strainer or cheesecloth and rinse it under cold water. Knead the butter gently to remove any remaining buttermilk, which helps prevent spoilage.
- Add Salt (Optional):
- If you prefer salted butter, add a pinch of salt and knead it into the butter until evenly distributed.
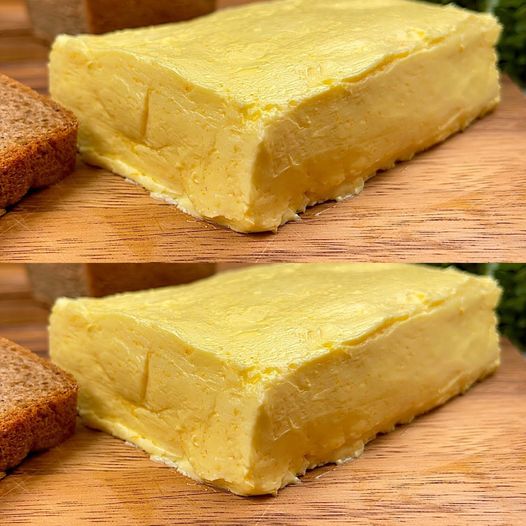
- Shape and Store:
- Shape the butter into a log or press it into a mold. Wrap it in parchment paper or plastic wrap and store it in the refrigerator. Homemade butter will keep for about a week.
Enjoy Your Homemade Butter
Your homemade butter is now ready to be enjoyed! Spread it on fresh bread, use it in baking, or melt it over vegetables for a delicious, creamy treat.
Conclusion
Making homemade butter is a rewarding and enjoyable kitchen project that yields fresh, flavorful results with just one simple ingredient. Whether you enjoy the pure, creamy taste of unsalted butter or prefer a touch of salt, the process is both satisfying and straightforward.
